
Lateral Approach to the Distal Humerus

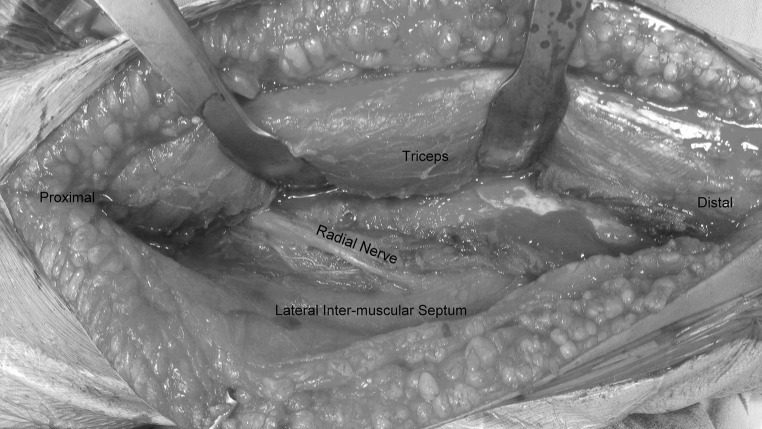
Lateral approach to the distal humerus with triceps lifted off the lateral intermuscular septum
Lateral approach to the distal humerus with triceps lifted off the lateral intermuscular septum. The radial nerve is exposed where it lies on the septum. Image from Kharbanda Y, Tanwar YS, Srivastava V, Birla V, Rajput A, Pandit R. Retrospective analysis of extra-articular distal humerus shaft fractures treated with the use of pre-contoured lateral column metaphyseal LCP by triceps-sparing posterolateral approach. Strategies Trauma Limb Reconstr. 2017, 12(1), 1-9. CC BY 4.0.
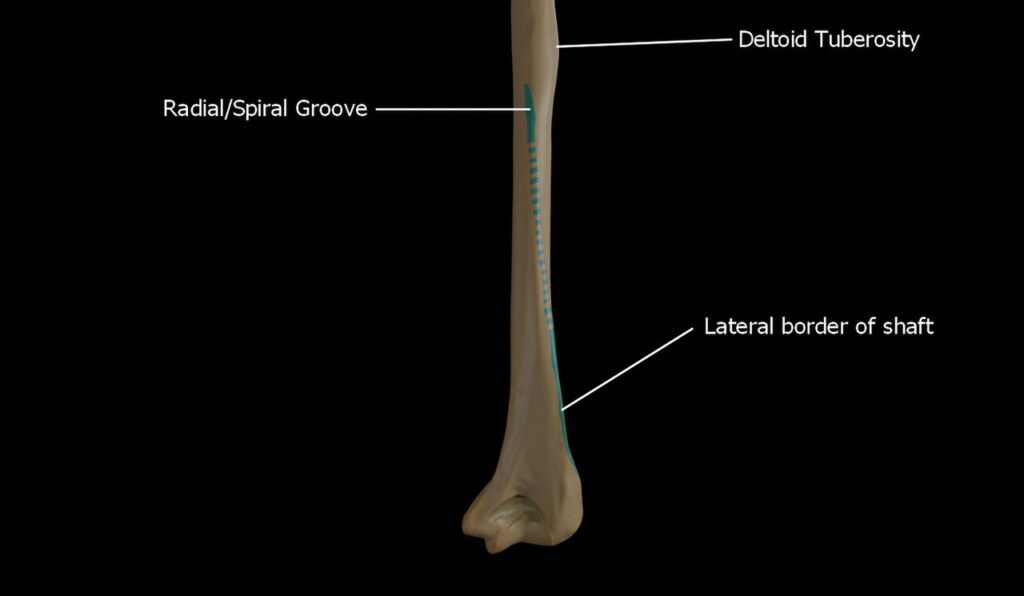
Lateral Approach to the Distal Humerus, humerus showing the radial groove continuing as the lateral border of the shaft
Humerus showing the radial groove continuing as the lateral border of the shaft. Image by Doctor Jana, Wikimedia Commons, CC BY-SA 4.0.

Indications

Position

  • Supine
  • Tourniquet
  • Arm draped free and laid across chest

Landmarks

  • Lateral epicondyle
  • Lateral supracondylar ridge

Incision

  • 5 cm longitudinal incision centred over lateral supracondylar ridge

Internervous Plane

Superficial Dissection

  • Deep fascia
  • Develop plane between brachioradialis & triceps
  • Cut between these muscles down to bone
    • Reflecting BR anteriorly
    • Triceps posteriorly

Deep Dissection

  • Reflect common extensor origin & triceps as needed

Dangers

  • Nerve
    • Radial

Reviewed by Professor Phong Tran, Head of Orthopaedic Surgery, Western Health. Last updated 10 October 2026.